First projects
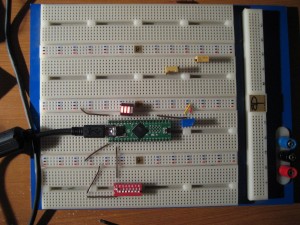
This post is to get up to speed on the digital projects I've been experimenting with. Over the years, I've collected various components in the hopes that one day I would bring them to life respectively scanning, displaying, or blinking on my desk. My first project, however, was just to get my feet wet with the unit. It read the input from one of the ADC's (analog to digital converters) and display it's estimated value onto 3 LEDs (light emitting diodes.) I mostly used code examples from the Teensy website.
I suppose this is a good time to talk about my development environment. My computer is just a stock P4 running Windows XP. The code is all written in C, using the AVR Studio 4 available from ATMEL corporation. From the application:
AVR Studio is an Integrated Development Environment (IDE) for writing and debugging AVR applications in Windows 9x/ME/NT/2000/XP/VISTA environments. AVR Studio provides a project management tool, source file editor, simulator,assembler and front-end for C/C++, programming, emulation and on-chip debugging.
If you are using the Teensy, most of the benefits of this software package will not apply - it is most useful for using a dedicated (and costly) prototyping solution. However, it is configured to use the WinAVR compiler by default. Utilizing these two packages, getting the development environment up and running was completely painless.
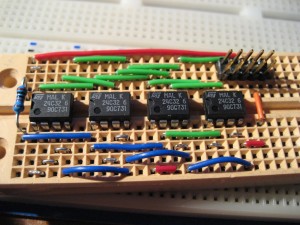
Since then, I have then interfaced a 4x1 OSRAM PD2437 alphanumeric LED display (this wasn't too difficult - it was pretty lenient to timing, and well documented,  a series of 4KB EEPROM ICs (this was difficult, mainly because I origininaly attempted to implement the I2C protocol myself (which was an absolute failure), and then used a buggy code sample I obtained from a website. I eventually got it working using the built-in I2C registers (code upon request)).
These turned out to represent excellent examples to help familiarize myself with aspects of the MCU. I may need to use the EEPROMS in a later project, and the LED display will be very useful for future debugging. So far, asidie from the burned-out LED module, I haven't had any other casualties.
Be sure to check out my next blog, where I detail how I got a mag-stripe reader successfully connected!
